Homemade plain greek yogurt has transformed my diet. It’s easy to make, lasts a long time, and (at least for me) is a great replacement for ice cream as an after-dinner snack. The instructions are simple, albeit time-consuming. But once you get them down, it’s easy to make awesome yogurt every single time!
Disclaimer: I’m not a chef or a scientist or a doctor. I don’t know about food bacteria and things. This is the recipe I follow, and it does well for me.
Equipment
Sous Vide
AKA “Immersion Circulator.” I use an “Anova” brand. There are lots out there. If you’re buying one, I would make sure you get one that you can change the temperature without your phone. Lots of them are “phone only” to operate.
Water Bath Container
This is like a big pot or plastic container, used to mount the sous vide and hold the water bath. I use a commercial food storage plastic container. You need one that is deep enough so that the water bath waterline goes higher than the sous vide minimum water level. I use this https://amzn.to/2Ti6TiJ. The bigger the size, the more yogurt that you can make. I use the 22 Qt ($31) to fit my yogurt container. If you want less yogurt, the 8 Qt ($12) is a good size.
Yogurt container (glass or plastic)
Something like a ball jar or a narrower food safe container that can fit inside your water bath container with the sous vide mounted. For ~1 gallon of yogurt, you need 2 gallons of milk, so I use a Cambro 8 quart food safe round container with a lid. https://amzn.to/2ZbMkIy $4.99 (lid sold separately: https://amzn.to/3fZUpWF $5.68).
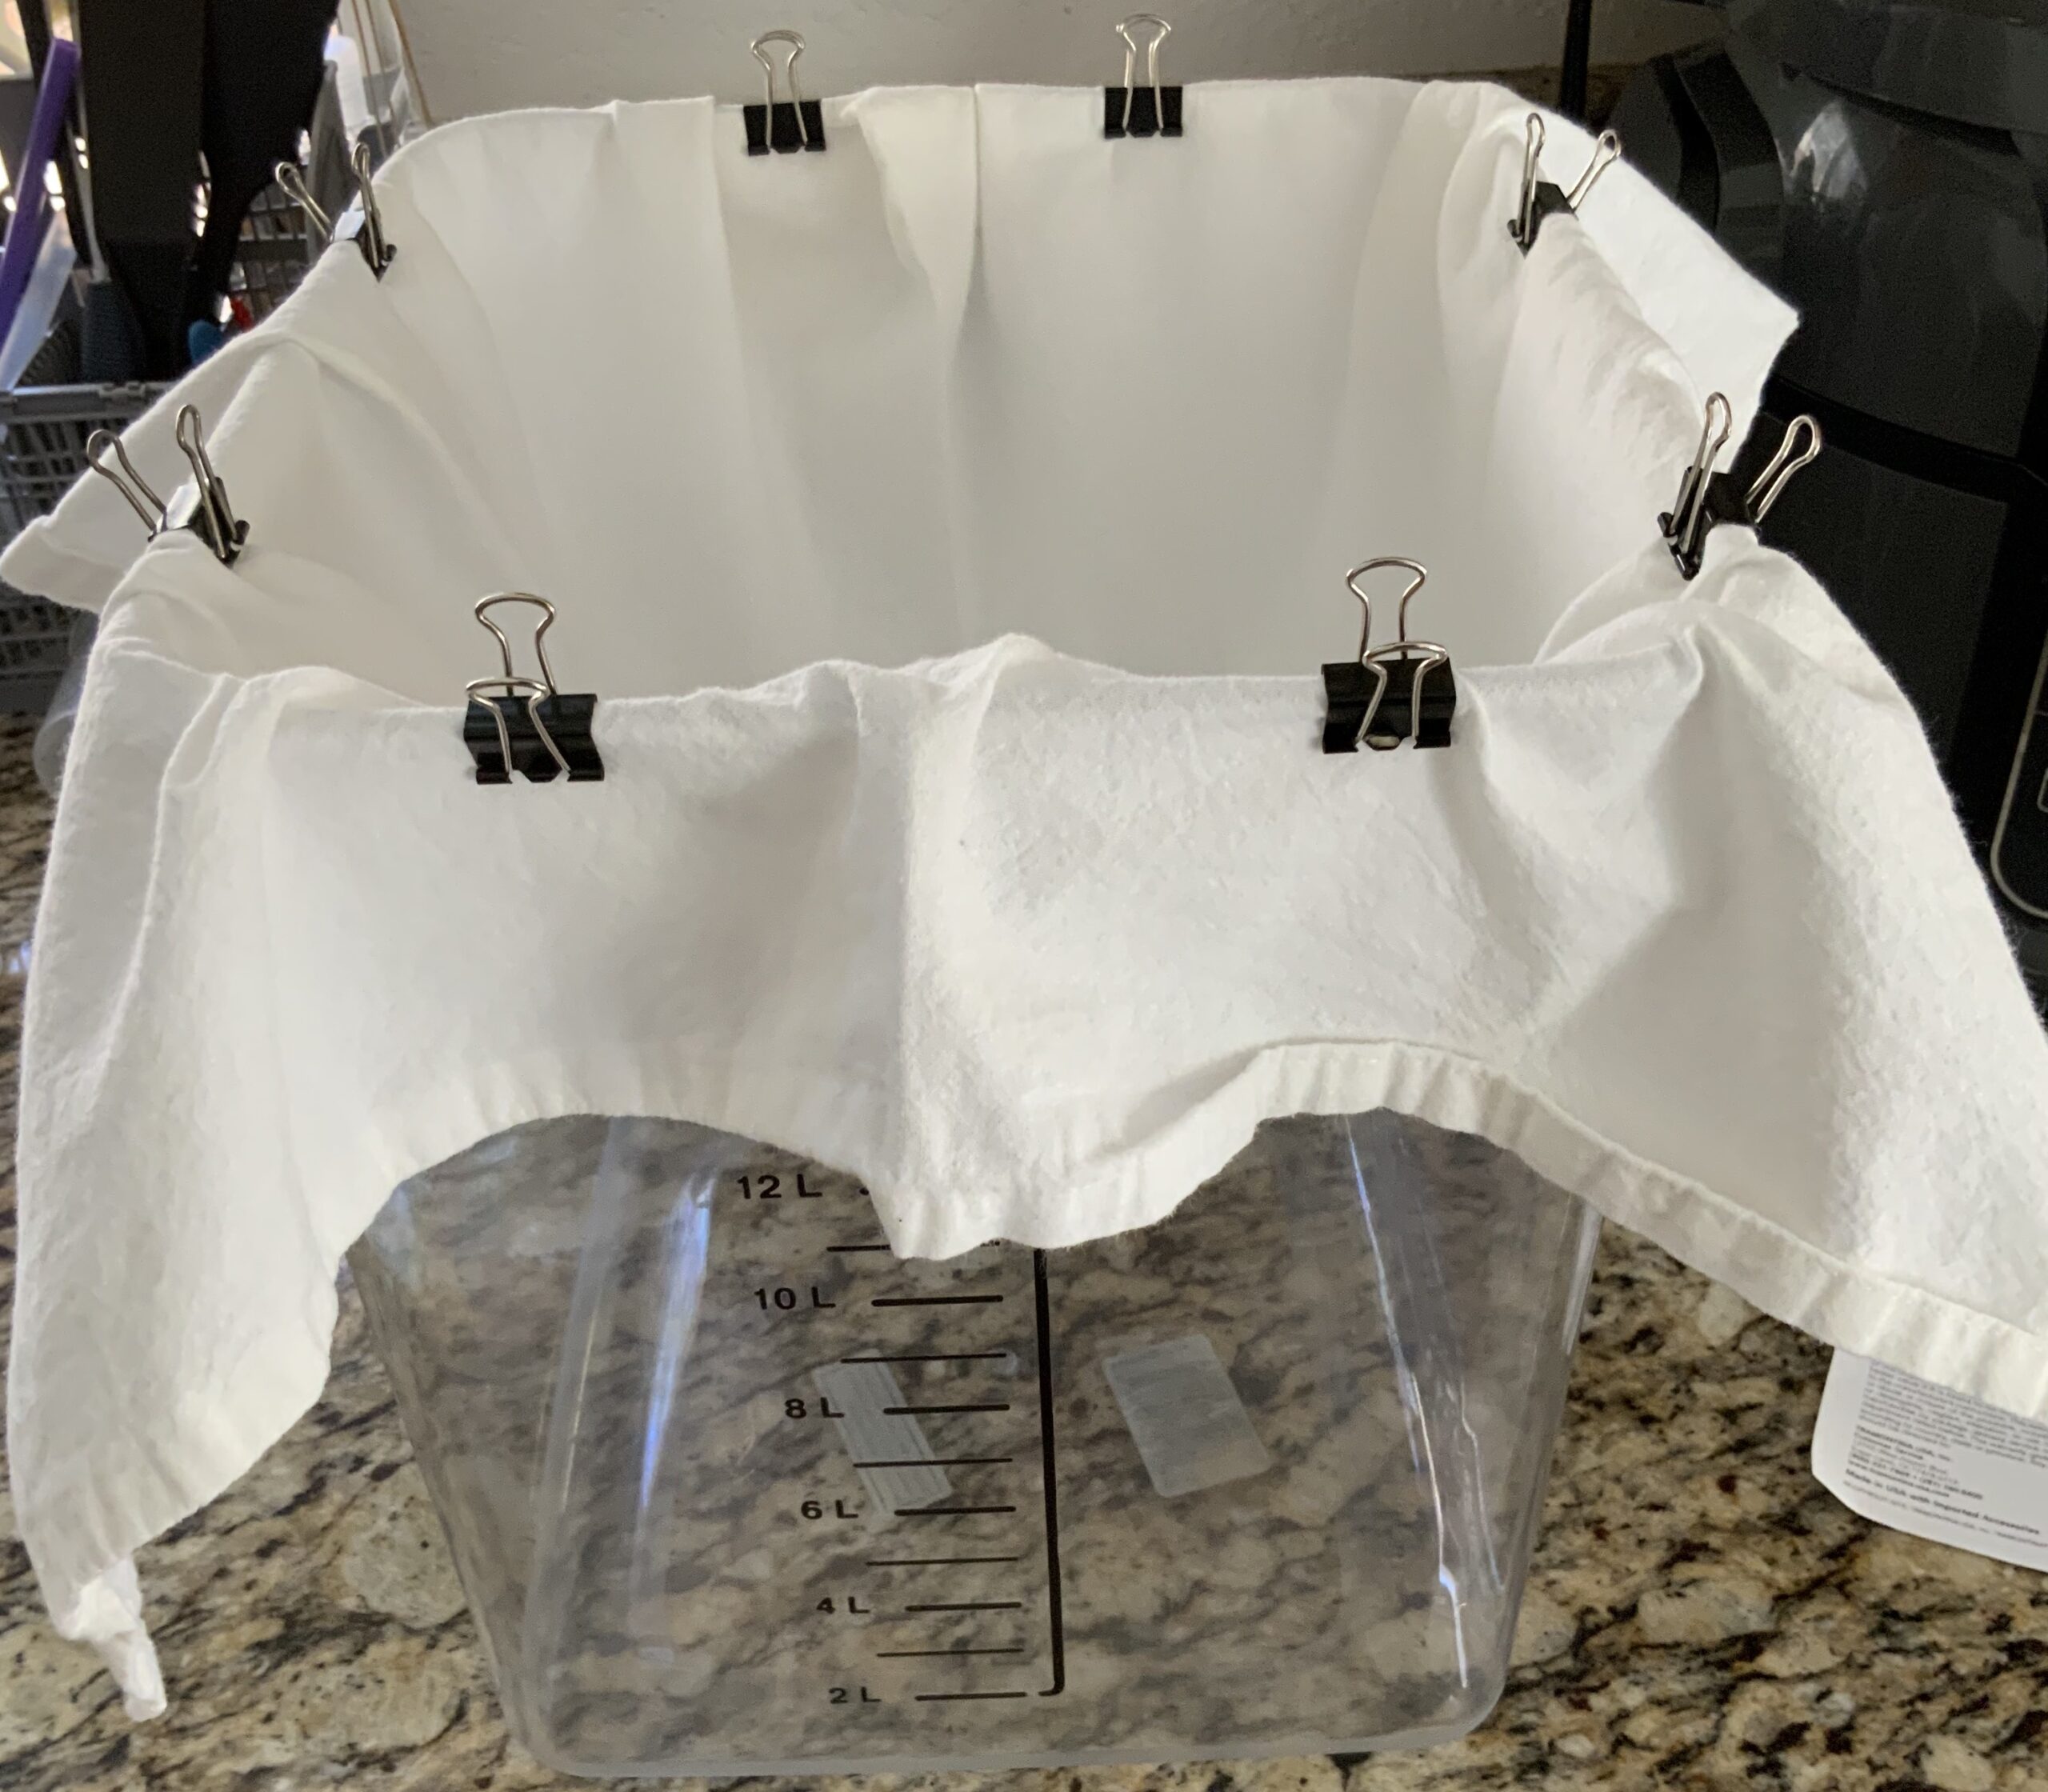
Straining towel
Any thin kitchen towels will work. I use a “Flour Sack Towel” https://amzn.to/3dVxR7C ($25 for 12) – These are reusable. I just rinse out, wash in the washing machine, and dry on a line or in the dryer without a dryer sheet.
Ingredients
2 Gallons Organic Pasteurized Whole Milk, (not Ultra-Pasteurized)
½ Cup Plain Full Fat Yogurt
(If I don’t have some from a previous batch, I use Fage 5%)
Directions
- Pour the milk into the Yogurt container. Put the lid on. If a screw lid, just slightly tight
- Mount the Sous Vide into the water bath container
- Place the water bath container on top of a trivet. This prevents heat transfer to your counter or tabletop
- Place the Yogurt container into the water bath container, centered so that there is space for water all around
- Fill the water bath container with water, around the yogurt container. Important that the waterline is *above* the milk line. Warning: the yogurt container may float. Fix this by putting a heavier thing on top of it, like a few bowls, to weigh it down
- Place the water bath container somewhere it can sit for a long time, and is near to power
- Set the sous vide to 110°
- When the water temp gets to 110°, the sous vide should tell you. Keep the water at this temperature for at least 13 hours (I have done this up to 18 hours before). Some sous vides have a timer that will do this for you, or you can just use your own timer
- Turn off the sous vide. Remove the yogurt container, dry off, and store in fridge at least 6 hours
- While yogurt container is in the fridge, unmount the sous vide and dump out the water bath. Attach the towel to the top of the water bath container forming a “bowl” to pour in the . I just use binder clips

- After the yogurt has chilled, dump it into the towel so that the whey starts soaking through the towel and into the water bath container. Strain for 1-4 hours, stirring every hour or so to “scrape” the towel and allow thinner yogurt to mix closer to the towel. Cover with another towel or the lid of the Water Bath Container to prevent dust
- When the yogurt is done straining, about 40-50% of the milk volume will have strained into the bottom of the Water Bath Container as whey – a greenish clearish byproduct of the milk. Use a large spoon to move the remaining yogurt in the towel to a tupperware or container for refrigerator storage
Tips
Sour-er Tasting Yogurt
If you prefer more sour tasting yogurt, strain out less whey. If you prefer less sour tasting yogurt, strain more. I find that the 40-50% ratio is not very sour at all. You can always store the strained whey in another container and add it back later to add sourness.
The Next Batch
Immediately fill a small tupperware or ziploc bag with ~½ cup of your yogurt into the freezer to use for your next batch. It can go into the batch frozen. It will heat up during the process. This will come in handy if you eat all of your yogurt and forget to use some in the next batch!
Common Questions
My yogurt is completely still liquid after I’ve refrigerated it
This is likely because there was an issue with the bacteria from the original full fat yogurt that was added during the cooking process. I know this happens to me most of the time when I’m making a new yogurt batch out of my previous yogurt that I’ve kept in the freezer for too long. All you can do here is toss it and try again with a fresh start.
I mistakenly let my yogurt cook for way more than 13 hours
This is all good. I’ve never done 24 hours, but I frequently leave it in the Sous Vide bath for ~18 hours. It should be fine.
